Image
 
Eigene Produkte
Wir liefern das passende Zubehör

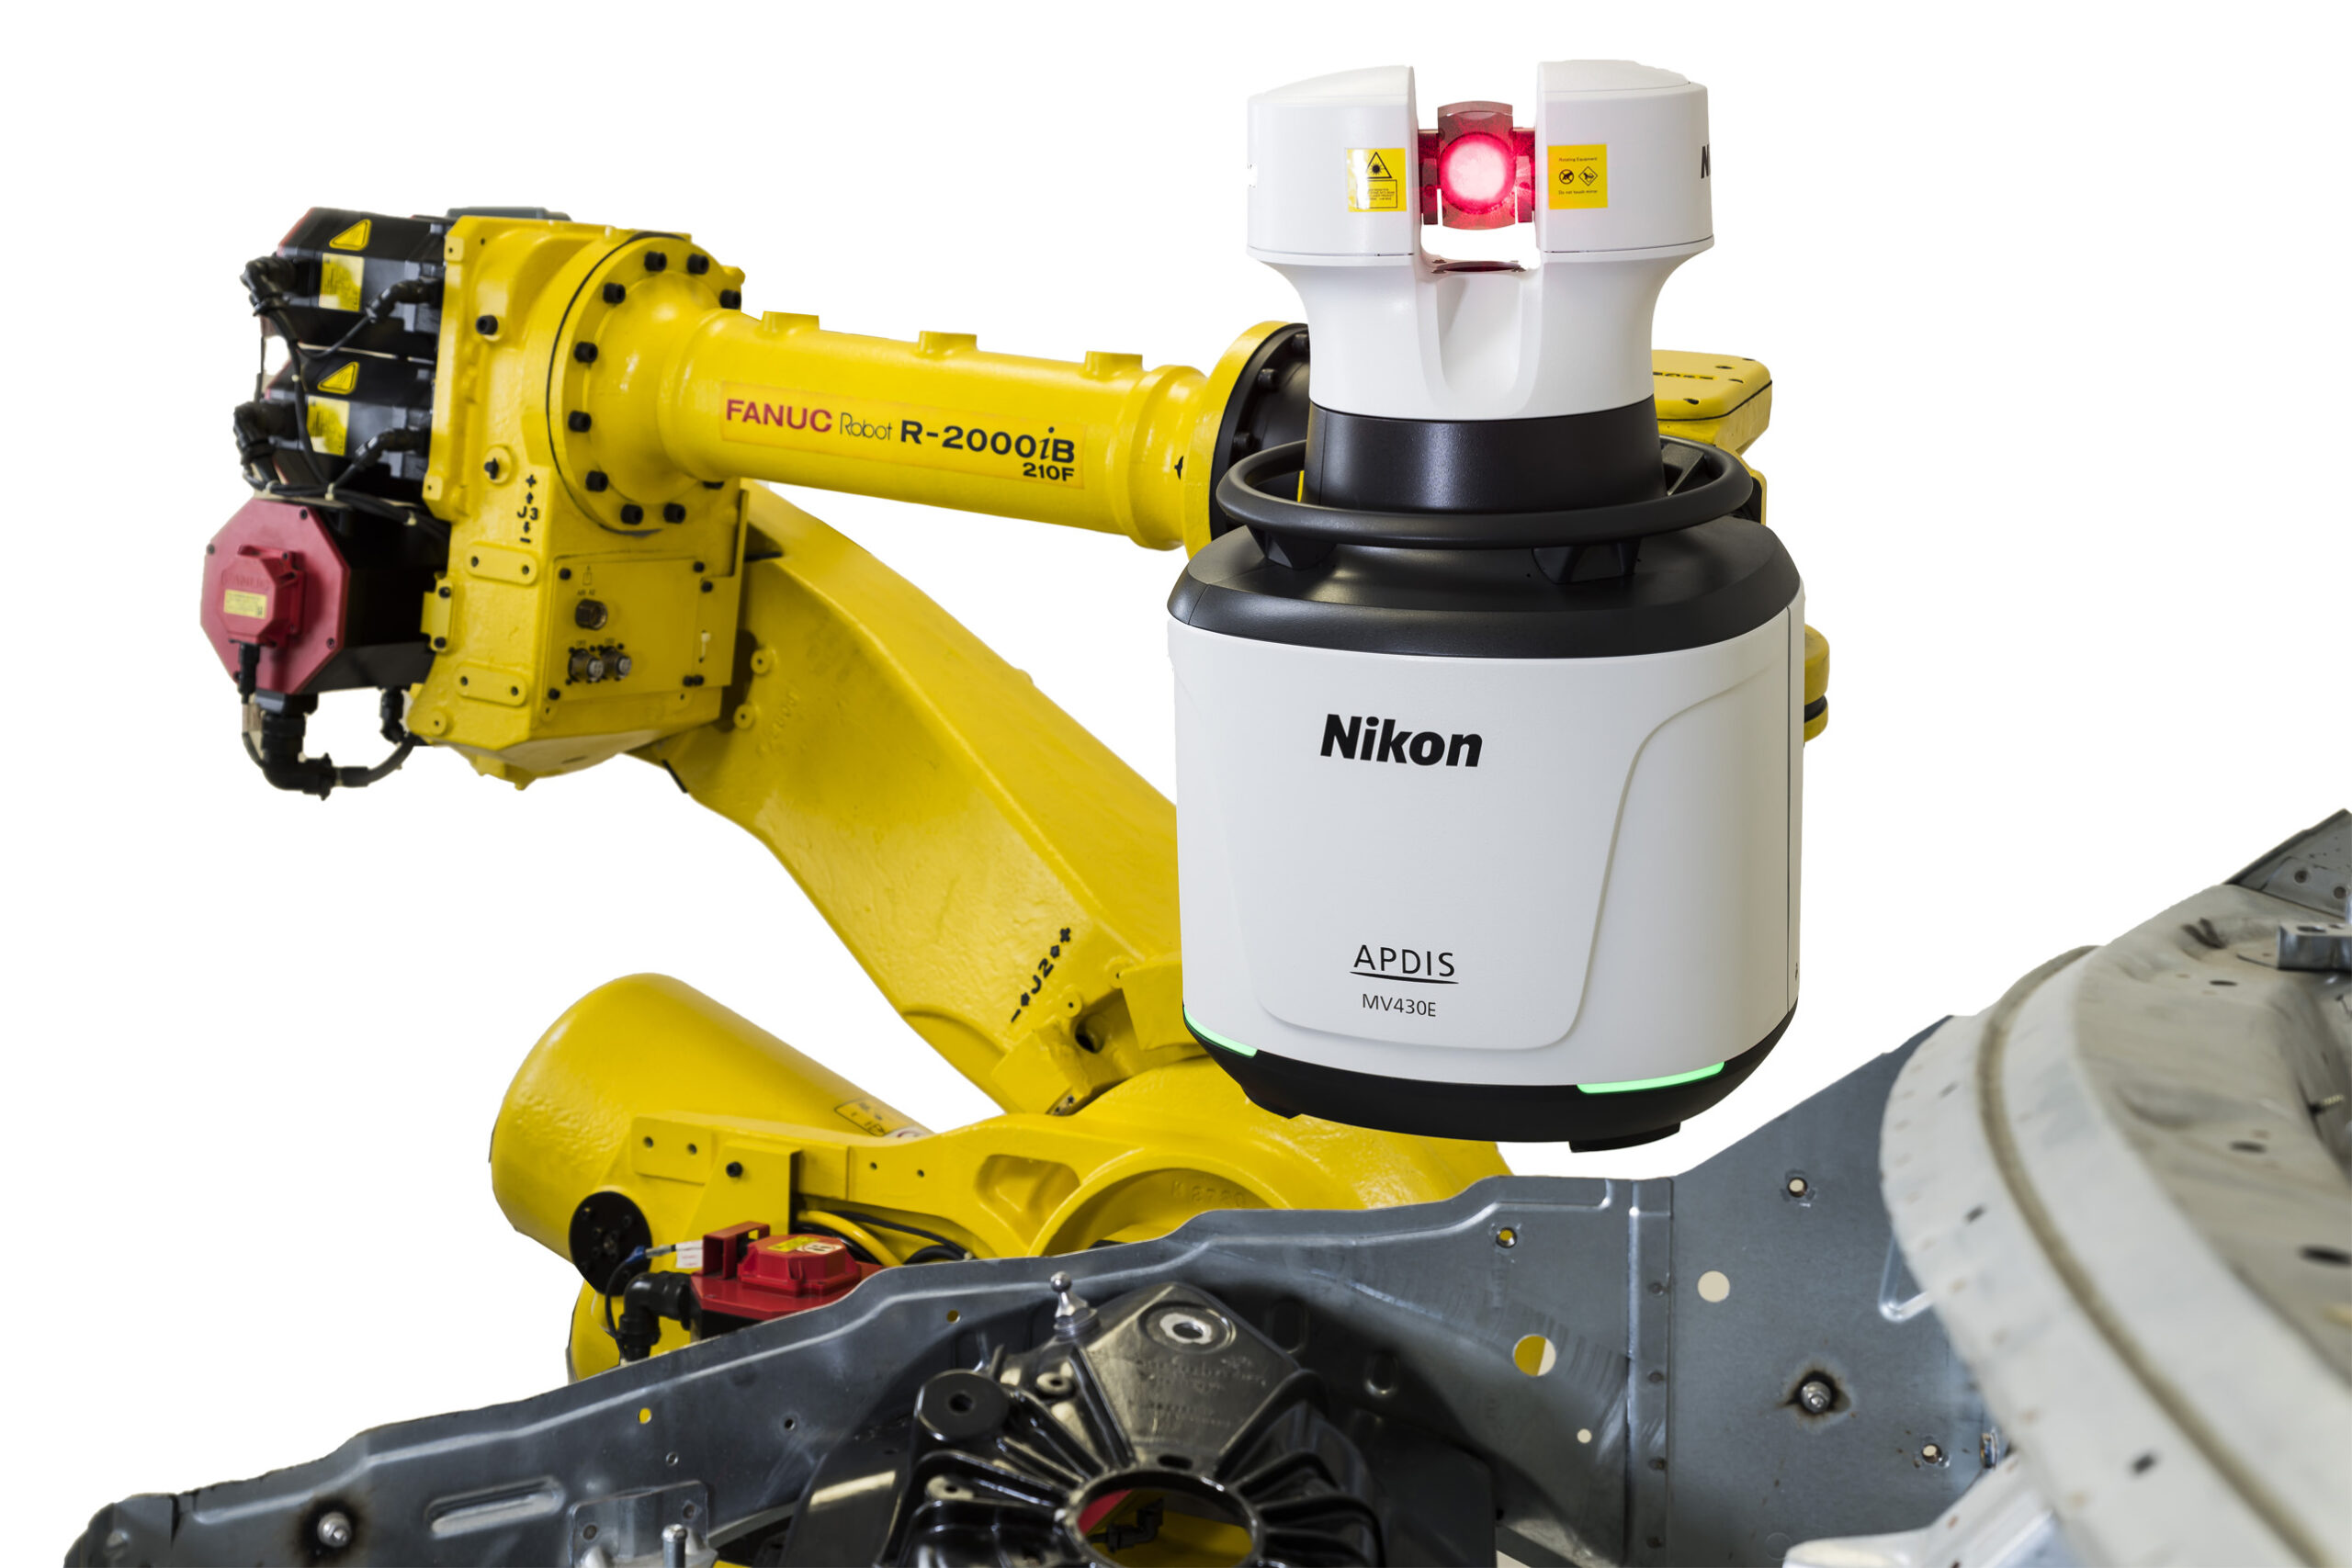
Die perfekte Ergänzung zu Ihrer Messmaschine sind unsere eigenen Computer- und Sensor-Pakete für einen zuverlässigen Betrieb.

Image
 
Nikon-Logo

Automated

3D scanning

Visit the Nikon Metrology website for more information about CMM laser scanners

Image

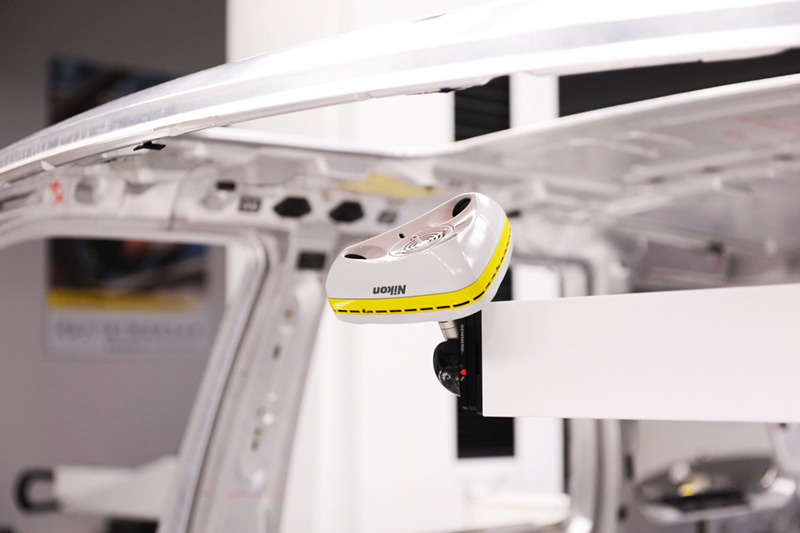
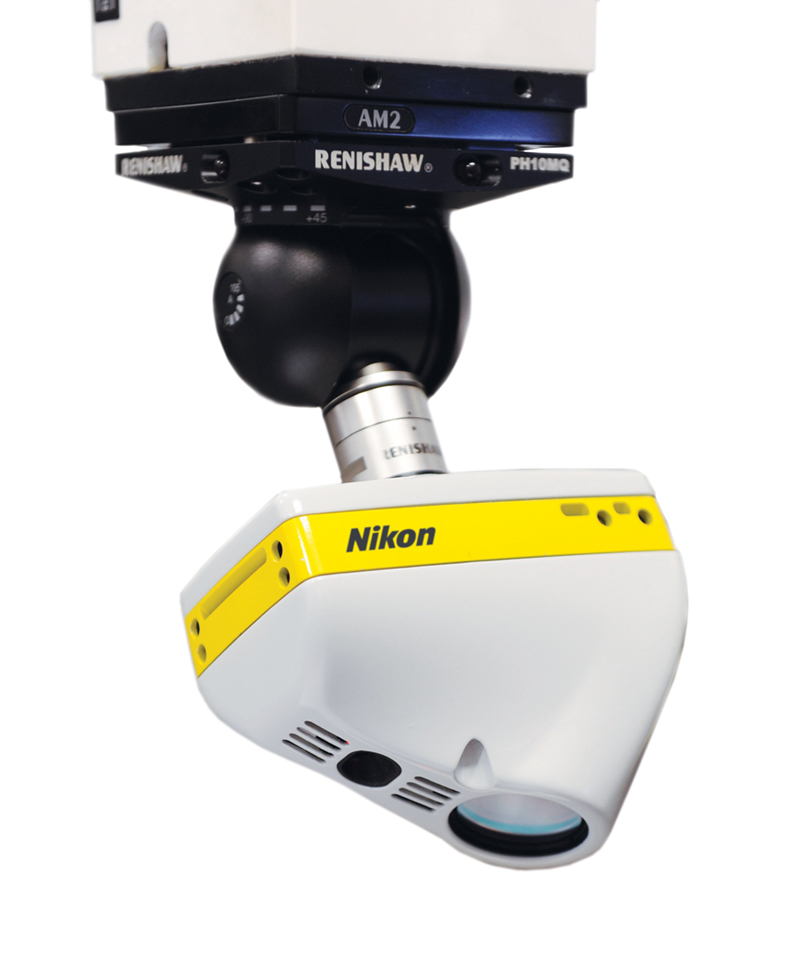
The L100 Laser Scanner from Nikon Metrology is the next generation CMM laser scanner that offers the best possible combination of speed, precision and ease of use.

Image

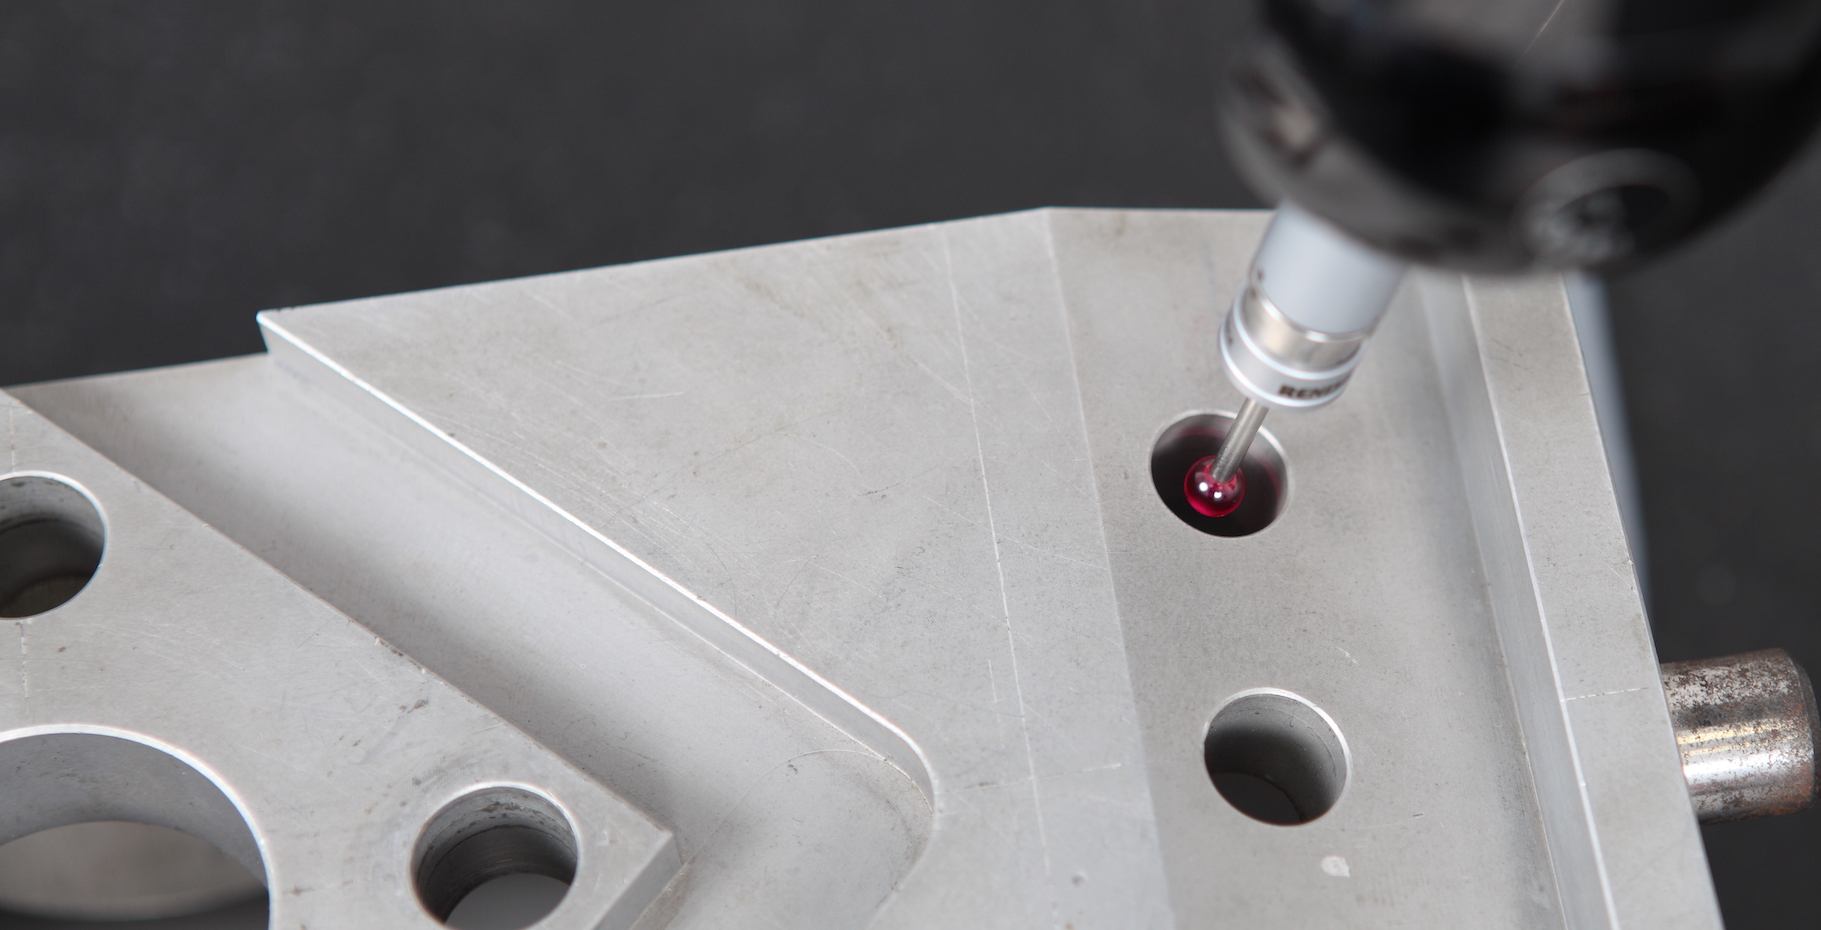
Nikon Metrology's LC15Dx laser scanner catches up with the accuracy advantage of tactile measurement systems. In terms of the precision with which data is acquired, the LC15Dx CMM laser scanner offers nearly the accuracy of a tactile probe and enables measurements at the highest level of accuracy.

Image

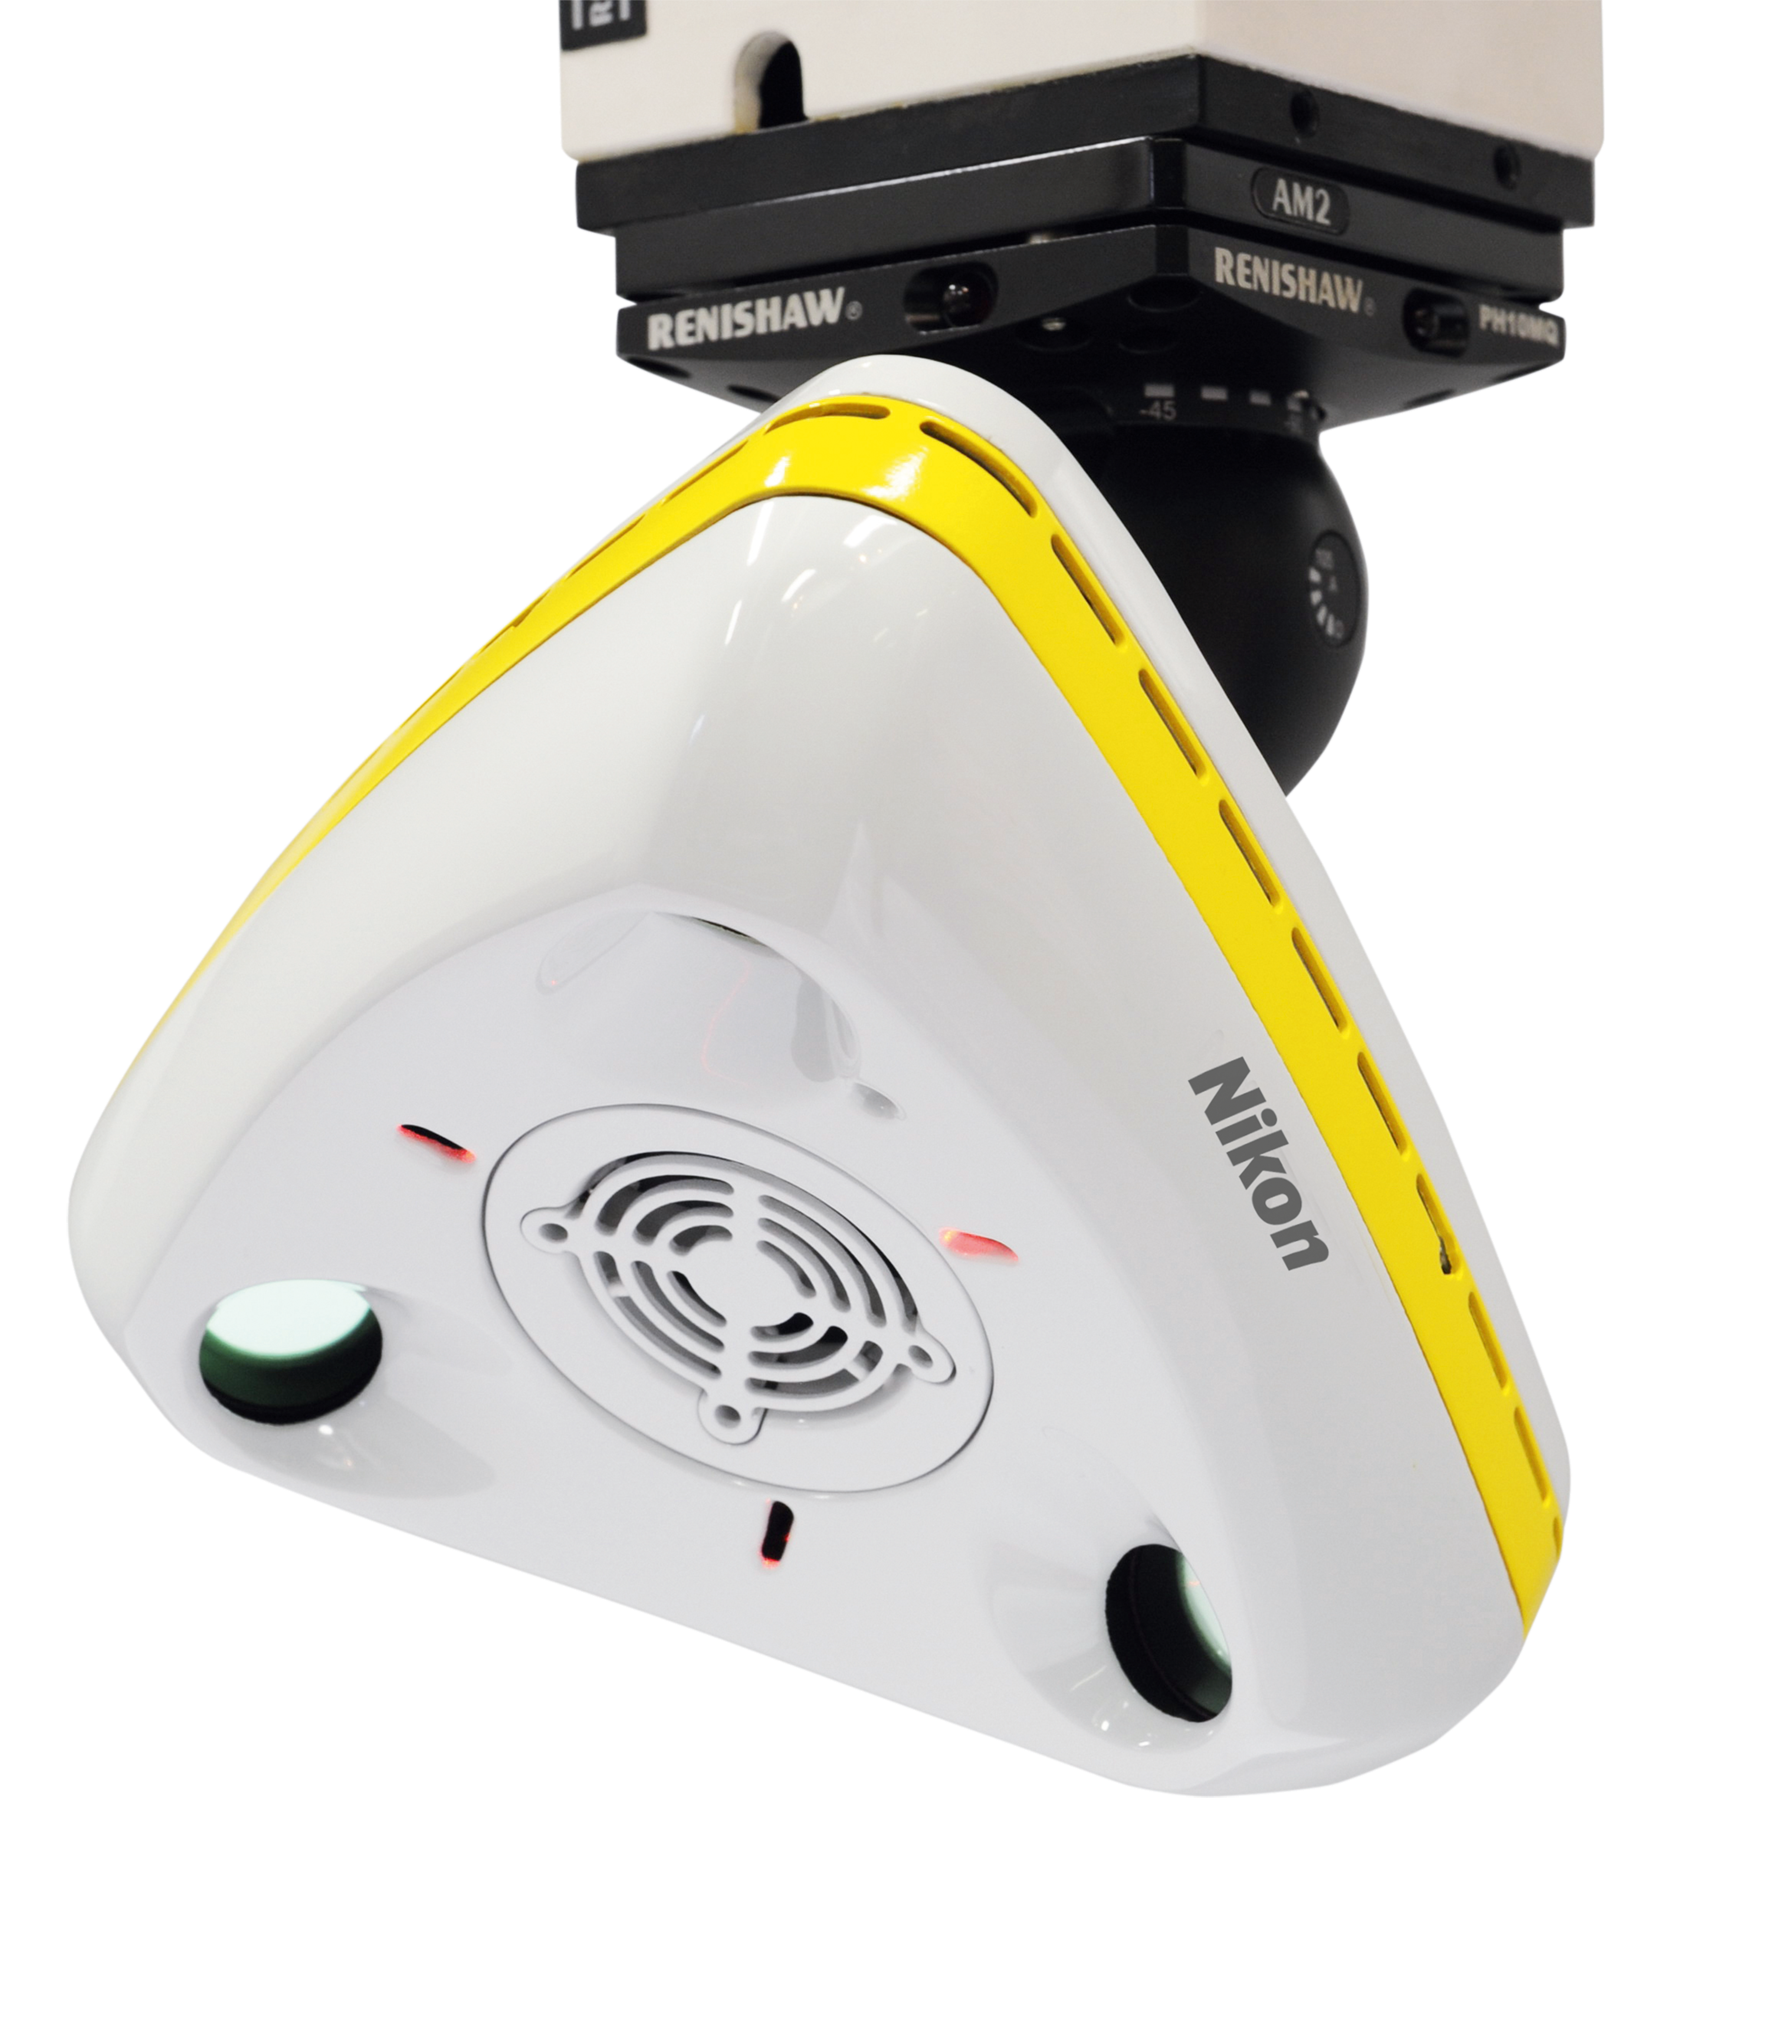
XC6Dx laser scanner is the ultimate 3-in-1 cross scanner for 3D feature inspection. Thanks to its patented triple laser configuration, the XC65Dx Cross Scanner takes the complete data from complex 3D geometric features and freeform surfaces with just a single scan.

Nikon-Logo

Automated

3D scanning

Image

Visit the Nikon Metrology website for more information about CMM laser scanners

Image

The L100 Laser Scanner from Nikon Metrology is the next generation CMM laser scanner that offers the best possible combination of speed, precision and ease of use.

Image

Nikon Metrology's LC15Dx laser scanner catches up with the accuracy advantage of tactile measurement systems. In terms of the precision with which data is acquired, the LC15Dx CMM laser scanner offers nearly the accuracy of a tactile probe and enables measurements at the highest level of accuracy.

Image

XC6Dx laser scanner is the ultimate 3-in-1 cross scanner for 3D feature inspection. Thanks to its patented triple laser configuration, the XC65Dx Cross Scanner takes the complete data from complex 3D geometric features and freeform surfaces with just a single scan.

Technische Daten

  MV430 MV450 MV430E MV450E
Reichweite 0.5 m bis 30 m 0.5 m bis 50 m 0.5 m bis 30 m 0.5 m bis 50 m
Datenrate 4000Hz
Scan-Geschwindigkeit* 500 Pkte/s
2 s/cm2
1.000 Punkte/s
1 s/cm2
Merkmalsmessung Standardfunktion Merkmal-Scan Enhanced Feature Scan**
Schwingungsmessung - Max. 2.000 Hz; 1 µm/m Empfindlichkeit
Umgebung IP54

*Standardeinstellungen – Stacking 4, Punktabstand 0,1 mm, Linienabstand 1 mm
**Mehr als die doppelte Merkmal-Messgeschwindigkeit im Vergleich zum Standardsystem. Die genaue Geschwindigkeit hängt von den Einstellungen ab


  Reichweite Horizontalwinkel Vertikalwinkel
Arbeitsbereich 0.5m – 30m / 50m ± 180° ± 45°
Genauigkeit (MPE) 20µm + 5µm/m 13,6µm/m


  Längenmessabweichung bei Zwei-Punkt-Distanzmessungen*
MPE (µm) = √(2(20 + 5RAve)2 + (13.6RAve)2)
Durchschnittlicher Messbereich (m) 0.5 1 2 5 10 20 30
MPE (µm) 33 40 57 115 216 420 625
Typisch (µm) 17 20 28 58 108 210 313

* Die Genauigkeit wird als Maximum Permissible Error (MPE, max. zulässiger Wert der Abweichung) nach ASME B89.4.19 – 2006 bezeichnet und in vertikaler Ausrichtung bei 20 °C überprüft. Die angegebene typische Genauigkeit beträgt die Hälfte des MPE-Wertes. Alle Messungen werden in einer stabilen Umgebung mit einer 0,5 Zoll Kalibrierkugel einer Güteklasse von mindestens 25 ausgeführt.

INQUIRE NOW

We look forward to your inquiry and will be happy to advise you on our products and services. 
Request your non-binding offer.

+ 49 (0) 93 55 - 97 05 872

INQUIRE NOW
Nikon Metrology is not responsible or liable for any omissions, errors or inaccuracies in any data or information posted or contained on this site, including but not limited to, product prices, features, specifications and technical data or information. In addition Nikon Metrology reserves the right to change without prior notice any data and information posted or contained on this site, including but not limited to, any product prices, features, specifications and technical data or information.